

Arrange categories and products in your WhatsApp store
Product Arrangement Sheet, Product Arrangement, product categories, collection ID, slugWhen you finish, your WhatsApp store shows categories and products in the order you choose.
Change the order
Section titled “Change the order”-
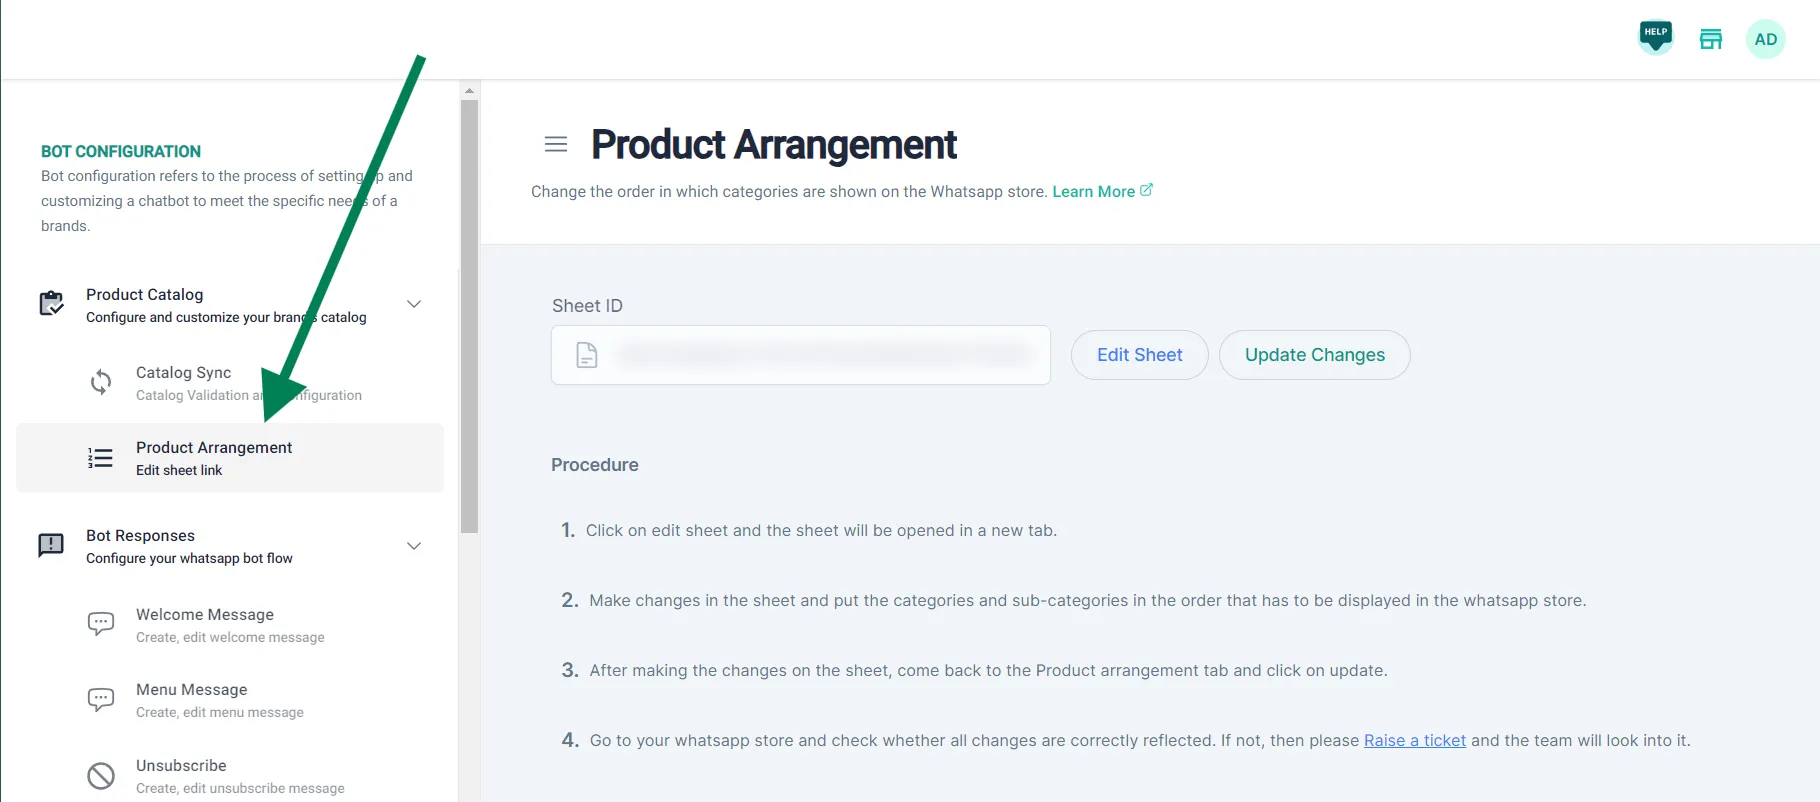
Go to Bot Configuration → Product Catalog → Product Arrangement.
-
Click Edit Sheet. The sheet opens in a new tab.
-
In the sheet, list your categories and subcategories in the order you want them on your WhatsApp store.
-
For each category, enter its Shopify collection ID or WooCommerce slug name (see below).
-
Go back to the Product Arrangement page and click Update Changes. The changes go live on your WhatsApp store.
-
Open your WhatsApp store and check the changes.
Find your collection ID or slug
Section titled “Find your collection ID or slug”-
Shopify: go to Products → Collections and open the collection. The collection ID is the number at the end of the page URL.

-
WooCommerce: the slug name is on the Products → Categories page.
Sheet rules
Section titled “Sheet rules”If your changes don’t show on WhatsApp, check these rules:
- The sheet tab must be named inventory.
- Each category name can have at most 24 characters.
- Category names can’t contain symbols.
- Collection IDs (Shopify) and slug names (WooCommerce) must be correct.
- You must click Update Changes after editing the sheet.
Watch the walkthrough
Section titled “Watch the walkthrough”Related
Section titled “Related”Was this page helpful?
Thanks, this helps us improve this page.
Still stuck? Email support@businessonbot.com