

Trigger a smart automation from ShopPass events
Smart Automation with Shop Pass Event, ShopPass, Shop Pass, Shopflo, product abandonment, browse abandonment, abandoned checkoutWhen you finish, shoppers who view a collection or product, add to cart or click checkout on your website get a targeted WhatsApp message, based on events sent by ShopPass by Shopflo.
Step 1: Name the automation and pick the ShopPass event
Section titled “Step 1: Name the automation and pick the ShopPass event”-
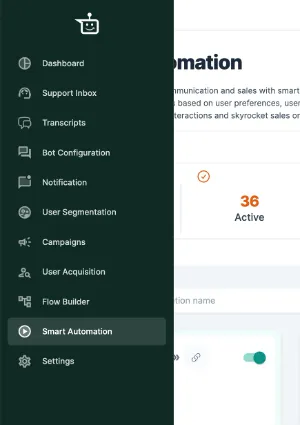
Go to Smart Automation.
-
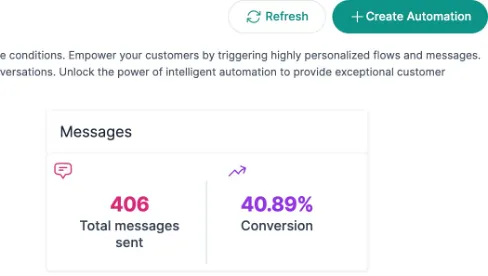
Click Create Automation at the top right.
-
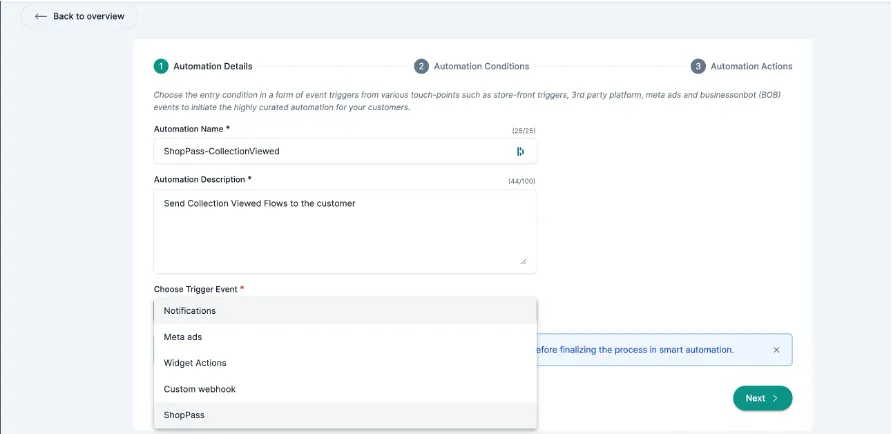
Enter an Automation Name (for example “Cart abandonment recovery”) and an Automation Description.
-
Under Choose Trigger Event, select ShopPass.
-
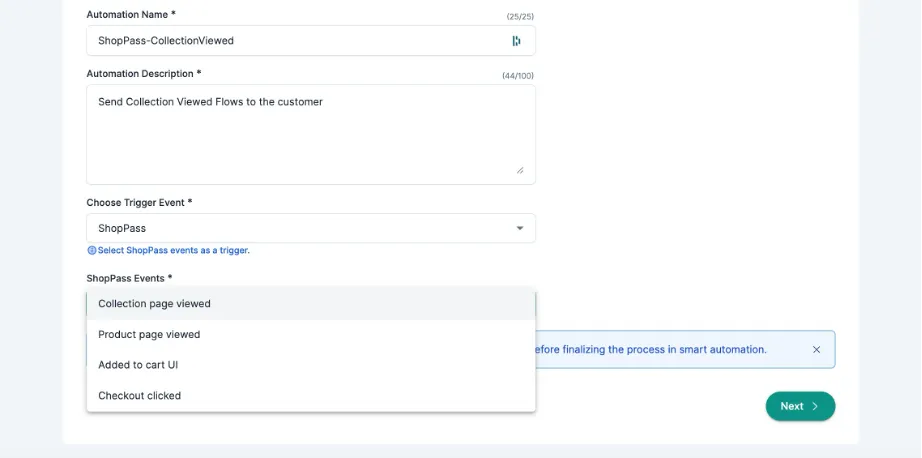
Under ShopPass Events, pick the event that starts the automation (see the table below).
-
Click Next.
| Event | Sent when a shopper… |
|---|---|
| Collection page viewed | Views a collection page |
| Product page viewed | Views a product page |
| Added to cart UI | Adds a product to their cart |
| Checkout clicked | Clicks the checkout button |
Step 2: Set the timing and the audience
Section titled “Step 2: Set the timing and the audience”-
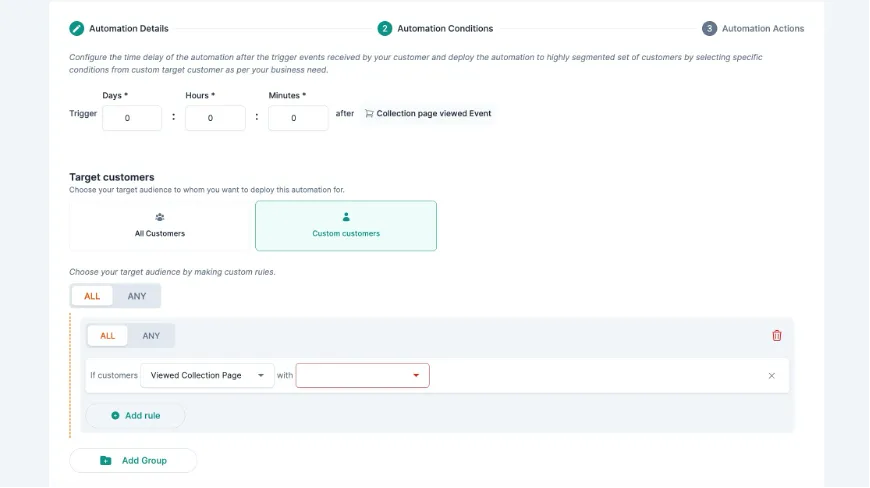
Set the delay in Days, Hours and Minutes after the event, for example 30 minutes after a shopper adds to cart.
-
Under Target customers, choose All Customers, or Custom customers to target shoppers based on the event data.
-
If you chose Custom customers, build rules using the ShopPass event fields, such as product name, ID or URL, cart value, collection URL, or whether an email or phone number is available.
-
Click Next.
Step 3: Choose the message and deploy
Section titled “Step 3: Choose the message and deploy”-
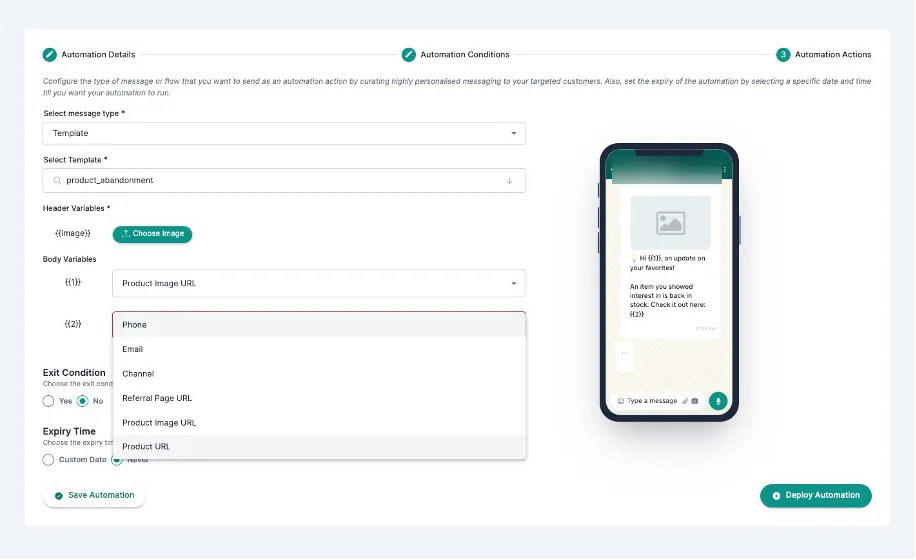
Under Select message type, choose Template to send a pre-approved WhatsApp template, or choose a flow you built on BusinessOnBot.
-
Select the template and map its variables to ShopPass event data, such as the product name, cart value or phone number. For example: “Hi {{1}}, you left {{2}} in your cart. Complete your purchase now!”
-
Click Deploy Automation to make it live.
Step 4: Connect ShopPass to the automation
Section titled “Step 4: Connect ShopPass to the automation”-
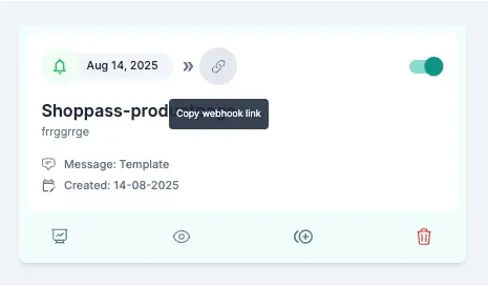
On the Smart Automation page, find your automation’s card and click the link icon (Copy webhook link).
-
In your ShopPass dashboard, go to Settings → Abandoned Carts and paste the webhook URL.
Related
Section titled “Related”Was this page helpful?
Thanks, this helps us improve this page.
Still stuck? Email support@businessonbot.com